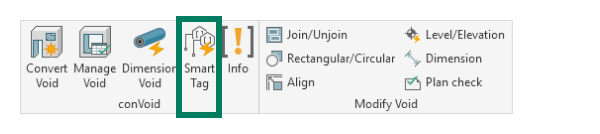
Smart Tag
Introduction
After creating openings, you need to annotate them in your 2D plans so site teams can read relevant information such as dimensions and elevation. Smart Tag automates this process by placing tags on all (or selected) openings in a single step. It analyzes the current view and finds a free spot for each tag to avoid overlapping with existing plan content.
Smart Tag works similarly to Revit's built-in "Tag All" command, but adds automatic collision avoidance with other elements in the view.
Video Tutorial
ConVoid Tag Family
ConVoid includes a sample tag family that displays relevant opening information in your plans. You can customize it freely: rename types, change fonts, add or remove parameters, and adjust units. There are no restrictions.
If you create your own tag family from scratch, you must use the ConVoid Shared Parameter file. You can find the Shared Parameter file in the ConVoid Family Library.
Tag Openings
Follow these steps to tag your openings:
-
Make sure the desired tag families are loaded into your project.
-
Open a 2D view (floor plan or ceiling plan).
-
Optional - Pre-select elements: If you only want to tag specific openings, select them before launching Smart Tag. If you skip this step, Smart Tag will tag all untagged elements of the selected family types in the current view.
-
Launch Smart Tag from the ConVoid ribbon.
-
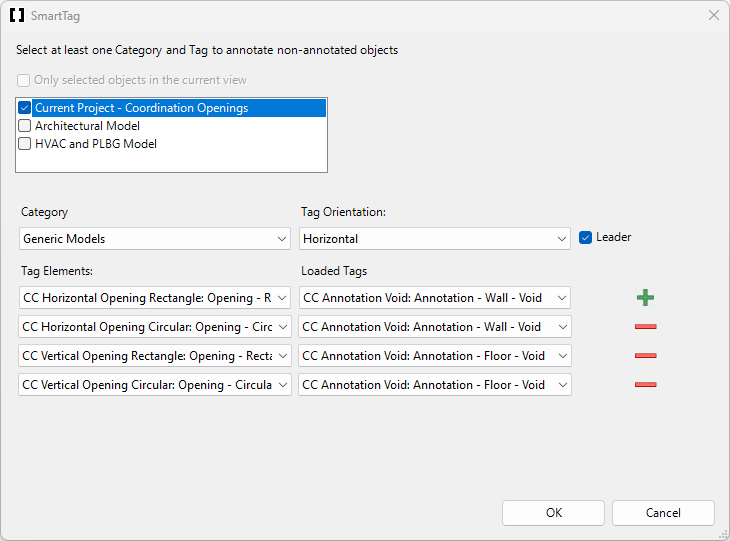
Select the models containing the elements you want to tag. If you pre-selected elements, the "Use selection" checkbox will be enabled.
-
Choose the element categories and family types you want to tag.
-
For each opening type, select the tag family and specify the tag orientation. Enable the leader checkbox if you want a leader line. Click the plus button to add specifications for additional family types.
-
Click [OK] to start the process.
Smart Tag will now analyze the current view and attempt to find a free spot for each tag.
A common mistake: the units displayed in tags (mm, cm, inches) are set inside the tag family, not by your Revit project units. If your tags show the wrong unit, you need to edit the tag family. See Edit Annotation for step-by-step instructions on how to change units per label.
In some standards, floor openings must be labeled differently depending on the view direction: "SSL" (Floor Opening) when looking from above, "B/SS" (Ceiling Opening) when looking from below. Smart Tag cannot distinguish this automatically because it is the same family. Use the type parameter (Type A / Type B) on each opening to control the label, then use Plan Check to select all openings of one type and tag them with a pre-selection.
If your tags appear disconnected from the opening, disable the parameter "Display Symbol over entire Level" in the opening properties. This parameter can cause the tag to reference a different position than expected.
Verify Your Results
After running Smart Tag, check the following:
- All expected openings are tagged. Use Plan Check to identify any untagged openings.
- No overlapping tags. Smart Tag tries to avoid overlaps, but this is not always possible. At high view scales (e.g., 1:100 or higher), overlaps are more likely. Reducing the scale to 1:50 typically gives better results. Manually adjust remaining overlaps if needed.