Cut and Uncut Openings
Introduction
The Cut and Uncut feature lets you physically cut openings into their host elements (walls, floors) so the opening geometry is subtracted from the host. This creates a visible hole in the 3D model.
We recommend not cutting openings unless it is specifically required for your workflow (e.g. 3D reinforcement or quantity takeoff). Cutting can cause issues with dimensions, ConVoid updates, and host detection. If you do need to cut, make sure the opening is fully approved, will not change anymore, and is excluded from ConVoid to prevent automatic modifications in future updates.
Revit cannot create cuts with IFC or linked elements. The openings and their hosts must be in the same model. If your openings are in a separate opening model and the hosts are in a linked architectural model, cutting will not work.
Overview
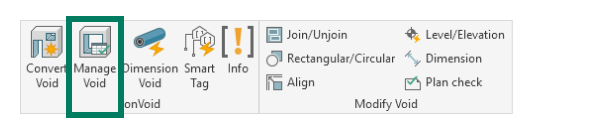
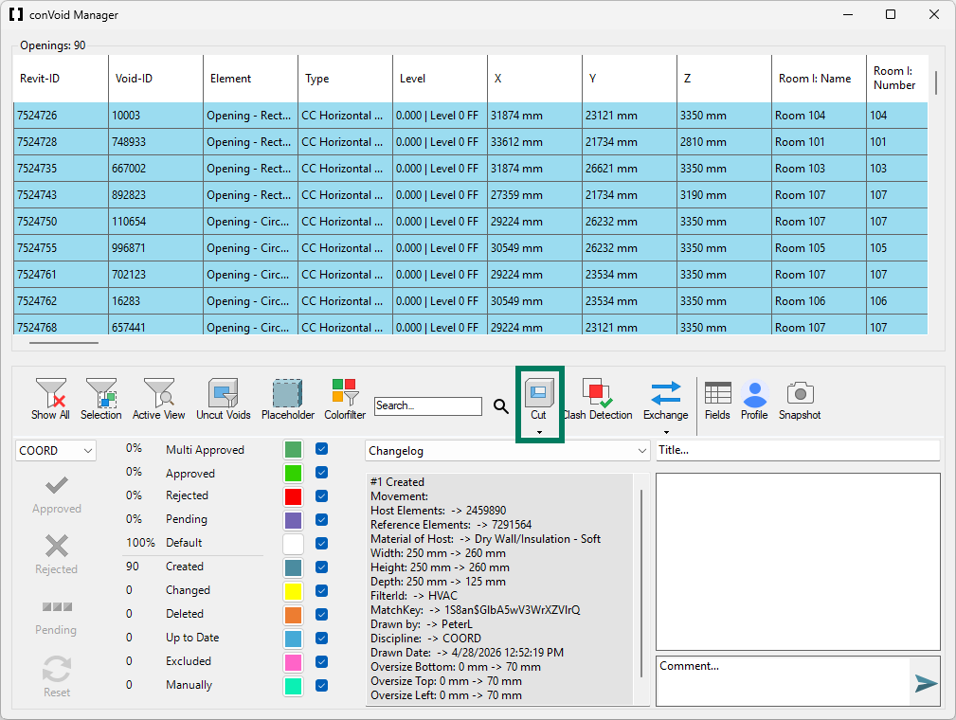
You can find the Cut and Uncut buttons in the ConVoid Manager toolbar.
Find Uncut Openings
To quickly identify which openings have not been cut yet, use the Uncut Voids filter:
- Open the ConVoid Manager.
- In the filter area, enable the Uncut Voids filter.
- The table will now show only openings that are not yet cut with their host.
This helps you track which openings still need processing, especially in large projects.
When you cut an opening, Revit creates two reference edges at the same location: the cutting edge of the wall and the edge of the opening. If you place a dimension referencing the wall's cutting edge and later uncut the opening, the dimension loses its reference and gets deleted. Always uncut all openings before placing dimensions, or ensure your dimensions reference the opening edge, not the wall's cutting edge.
Cut Openings
- Open the ConVoid Manager by clicking Manage Void in the conclass ribbon tab.
- Select the openings you want to cut - either in the table or directly in your current view.
- Click the Cut button (scissors icon) in the toolbar.
ConVoid will cut the selected openings into their host elements.
If Revit returns an error during cutting, it is usually caused by overlapping edges between the opening and the host element. To resolve this, adjust the oversize parameters of the affected openings by 1-5 mm and try again. For example, increase the Oversize Diameter or Oversize Width/Height slightly.
Uncut Openings
- Open the ConVoid Manager.
- Select the openings you want to uncut in the table.
- Click the Uncut button in the toolbar.
The cut will be removed and the host element geometry will be restored.
Verify Your Results
After cutting or uncutting, verify that the operation was successful:
- Switch to a 3D view to visually check whether the host elements show the expected holes.
- Use the Uncut Voids filter in the ConVoid Manager to confirm no openings were missed.
- If any cuts failed, check the Revit error messages and adjust the oversize by 1-5 mm as described above.